Roof Inspection From the Ground: A Safe 3-Stage Route
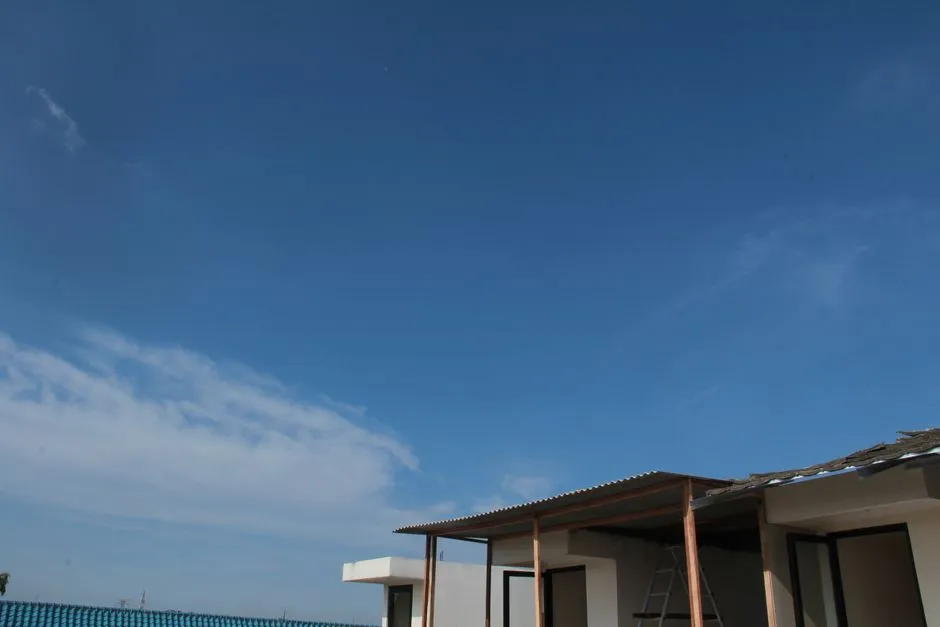
- Can you inspect a roof from the ground?
- What can a ground-level roof inspection tell you, and what can't it?
- Where are the stop points?
- What do you need for a ground-level roof inspection?
- Stage 1: the perimeter walk
- Stage 2: the window pass
- Stage 3: the interior pass
- How do you read what you found?
- How often should you check a roof from the ground?
- Who should take it from here?
- Sources
Can you inspect a roof from the ground?
Yes, and for a homeowner it is the right place to start. A roof inspection from the ground is a three-stage route: a slow walk around the house with binoculars, a pass at upstairs windows that overlook lower roofs, and an indoor check of ceilings and the attic from its hatch. You record what you see, and you hand anything that needs a ladder, a roof walk, or a water test to a licensed roofing contractor.
The Asphalt Roofing Manufacturers Association (ARMA), the trade body for asphalt shingle makers, recommends that homeowners make the initial inspections from the ground or through upstairs windows, calls binoculars a good tool for it, and advises contacting a professional roofing contractor for a full assessment if you see obvious damage.
What can a ground-level roof inspection tell you, and what can't it?
A ground-level inspection is good at finding things that change the outline of a roof: a missing shingle, a slipped tile, a lifted edge, bent metal, a gutter pulling away, a line that used to be straight and now sags. It also catches debris and staining.
It is poor at anything small, flat, or hidden. Hairline cracks in tile or worn sealant around a pipe often cannot be judged at a distance, and a low-slope ("flat") roof may be invisible from the street. Treat a clean result as "nothing obvious," never as "nothing wrong." The inspection's job is to tell you when to call someone, and to give that person a precise starting point.
Where are the stop points?
Falls are the reason roof access belongs to professionals. OSHA, the federal workplace safety agency, states that falls are among the most common causes of serious work related injuries and deaths. ARMA's guidance on roof stains says that only trained professionals should engage in walking, climbing, or working on a roof.
Stop and call a qualified professional when any of these apply:
- Anything that needs height. Do not climb a ladder to the eaves, step out of a window onto a lower roof, or walk any roof surface to get a closer look. Use binoculars or a camera zoom instead.
- Tile roofs. Do not walk on clay or concrete tile. Tile can crack underfoot, and a broken tile is both a fall hazard and a new path for water.
- Power lines. If a line is down, sagging, or touching a tree or the house, stay well away and contact the utility. ARMA's storm guidance flags downed power lines as a reason for caution.
- Solar panels. Do not touch panels, wiring, or mounting hardware. Note what you see and refer it to the system's installer.
- Indoors: a sagging or bulging ceiling, or water near anything electrical. Keep people out from under the ceiling, do not touch wet fixtures or outlets, and get urgent help from a qualified professional.
- The attic. Look from the hatch only. Do not walk on ceiling joists or drywall.
- Bad weather. Do the outdoor route only in dry, calm daylight, never during rain, wind, or lightning.
What do you need for a ground-level roof inspection?
The kit is short: binoculars, a phone with a camera zoom, a notebook, a flashlight for the attic hatch, and a rough sketch of the roof from above with each slope labeled.
Pick a clear, dry day when the sun is not directly behind the roof. Low side light helps, because it throws shadows under any edge that has lifted. Stand back far enough to see each slope, often the far side of the street or the back of the yard.
Timing matters in the San Diego area. The National Weather Service's San Diego climate narrative notes that "Eighty-five percent of the rainfall occurs from November through March", and that dry easterly winds sometimes blow for several days at a time. That suggests two checkpoints: early fall, before the wet season, and after any significant storm or strong wind.
Stage 1: the perimeter walk
Start at one front corner and walk the house clockwise, stopping at each corner and the middle of each wall. At every stop, work the roof in the same order: edges, open field, anything that pokes through, then the high lines. A fixed order stops the interesting bit from hiding the rest.
A few terms, defined by the National Roofing Contractors Association (NRCA) glossary: the eave is the lower edge of a sloping roof; the rake is the sloped edge; a valley is the internal angle where two sloping roof planes meet; a penetration is any pipe, conduit, or support passing through the roof; and flashing is the set of components used to weatherproof or seal roof system edges at perimeters, penetrations, and walls.
| Zone | What to look for from the ground |
|---|---|
| Eaves, fascia and soffits | Warped, rotted, or stained boards; bubbled paint; gaps where the roof edge meets the trim |
| Gutters and downspouts | Sagging runs, separated joints, overflow stains on walls, packed leaves, sand-like shingle granules at downspout outlets |
| Roof field (shingles) | Missing, lifted, curled, or cracked shingles; patches of different color; a wavy or dipping surface |
| Roof field (tile) | Cracked, slipped, or missing tiles; tiles out of line with their row; debris lodged between courses |
| Valleys | Leaves or debris dams, gaps, or lifted material along the joint |
| Penetrations and flashing | Metal that is bent, rusted, lifted, or pulled away around chimneys, vents, skylights, and pipes |
| Ridge and hips | A ridge line that sags, cap pieces that are missing or displaced |
| Vents | Damaged or missing screens, crushed vent caps, debris packed against openings |
Flashing deserves a second look at every stop. ARMA's storm guidance calls flashings "the most vulnerable points" when it tells homeowners where to check for leaks.
The edges deserve one too, because the U.S. Department of Energy's Guide to Durable Attics lists signs of possible water intrusion, and three of them can be spotted from the yard: warped or rotted soffit panels or fascia boards, bubbled paint at fascia boards or soffits, and worn or warped shingles at roof edges.
Dark streaks running down a shingle roof are often algae rather than dirt. ARMA identifies Gloeocapsa magma as probably the most prevalent of several algae species behind roof discoloration, and says its pigments can gradually turn light-colored roofs dark brown or black. Log the streaks; ARMA warns against using a power washer or any type of brush or broom on the roof surface.
In fire-prone parts of San Diego County, also note leaves or needles on the roof and in the gutters. The Insurance Institute for Business & Home Safety (IBHS) Wildfire Prepared Home brochure lists "Routinely remove leaves, needles, and other vegetative debris from roof, gutters, and downspouts" as a base-level step, and calls for vents to be ember-resistant or covered with 1/8-inch corrosion-resistant metal mesh. Clearing a roof or gutter is work at height; hire it out.
Photograph each slope from the same spot every time; next season, the comparison beats memory.
Stage 2: the window pass
Upstairs windows are the best seats in the house for lower roofs: the garage, a porch, an addition, or a low-slope section invisible from the street. Look through the glass. Do not lean out, sit on the sill, or step onto the roof below.
Check the same zones as Stage 1, plus two things the ground hides. On low-slope sections, look for standing water. NRCA defines ponding as excessive water accumulation at low-lying areas that remains more than 48 hours after precipitation, so a puddle still there two days after rain is worth reporting. Also look where a lower roof meets a wall, a flashed junction rarely visible from the yard.
Stage 3: the interior pass
The inside of the house often reports a roof problem before the outside shows one.
Walk the top floor and look up: ceilings in every room, inside closets, around skylights, vents and light fixtures, and along the tops of exterior walls. Look for brown, yellow, or gray rings, peeling paint, or a soft-looking patch of drywall. Measure any stain from two walls and photograph it with a ruler in frame.
Then open the attic hatch and look from the opening with a flashlight. ARMA advises homeowners to inspect the underside of the roof deck from the attic to detect leaks. The Department of Energy's attic guide lists wet insulation, especially near the eaves; mold or mildew on attic surfaces; and warped or rotting wood in the attic among its signs of water intrusion.
If you find damp material, time matters. The U.S. Environmental Protection Agency says "If wet or damp materials or areas are dried 24-48 hours after a leak or spill happens, in most cases mold will not grow". To trace an active stain further without leaving the floor, see our safe leak-tracing guide.
How do you read what you found?
Sort every note into one of three piles.
Log and watch. Algae streaks with no other change, a few leaves in a valley, old stains that have not grown since your last photo. Re-check at the next seasonal pass.
Book a professional inspection. Missing, lifted, or curled shingles; cracked or slipped tiles; bent or lifted flashing; granules collecting at downspouts; a ridge or roof plane that no longer looks straight; damage at fascia or soffits; ponding on a low-slope section; damp insulation in the attic. Hand these to a licensed roofing contractor with your photos and sketch.
Act now. An active drip, a sagging ceiling, water near electrical fixtures, or a large opening in the roof after a storm. Follow the stop points above and call for urgent help.
What a professional finds feeds the bigger question of fixing versus starting over, which depends heavily on the roof's age and material. Our guides on how long a roof lasts by material and repair versus replacement cover that decision. Costs for any follow-up work vary widely by region and roof, and whether a repair needs a permit is a question for your local building department.
How often should you check a roof from the ground?
No single interval fits every roof. A sensible rhythm is twice a year, in early fall and spring, plus a pass after any significant storm or wind event, in line with ARMA's recommendation of a visual inspection from the ground after storm events. Our San Diego roof maintenance checklist folds this route into a full seasonal plan.
Who should take it from here?
A ground inspection ends with a list, a sketch, and photos. The next step belongs to a licensed roofing contractor, equipped to work on the roof, lift materials, and run water tests. In California, the Contractors State License Board lets you check a contractor license by license number, business name, or personnel name before you hire. Bring your notes: "north slope, third course above the gutter, near the vent pipe, photographed in March and again in October" lets a roofer start where the evidence is.
Sources
- Asphalt Roofing Manufacturers Association: How to be sure your roof is in good condition after the dust has settled
- Asphalt Roofing Manufacturers Association: Algae Discoloration
- OSHA: Fall Protection
- National Roofing Contractors Association: Roofing Glossary
- National Weather Service San Diego: Climate of San Diego
- U.S. Department of Energy: Guide to Durable Attics
- Insurance Institute for Business & Home Safety: Wildfire Prepared Home brochure
- U.S. Environmental Protection Agency: A Brief Guide to Mold, Moisture, and Your Home
- Contractors State License Board: Check a Contractor License